Hi ladies, I just want to let you know that I have a new blog address. It is www.http://srappingpinklady.com After much trial and error and I think I have this all figured out. I hope so anyways. Please bear with me as I make this transition. I would love it if you would please come and follow me on my new blog. It will look the same once I get that set up. thank you for you patience as I get this all worked out.
Happy Scrappin
Scrappingpinklady
Thursday, February 24, 2011
Monday, February 21, 2011
Blog Award

1. My new favorite cartridge is Create A Critter.
2. I'm so lucky to have made some wonderful friends through crafting and Youtube
3. I love my new Gypsy and wonder how I ever crafted with out it.
4. I really want the new Expressions 2 coming out this year.
5. I have 4 boys and 1 dog named Ruby
6. Im starting a monthly newsletter here on my blog
7. I have been married 14 1/2 years to a supportive of my hobby hubby.
8. I love the color pink if you didnt already know that about me.
Thanks again for this award.!
Happy Scrappin'
Scrappingpinklady
Newsletter Volume 1
A TOUCH OF PINK
By: Scrappingpinklady
Volume 1
By: Scrappingpinklady
Volume 1
Welcome my crafting friends to the first volume of A Touch of Pink newsletter.
In this newsletter I hope to keep you up to date on what’s going on in the Scrap booking world as well as share lots of ideas, tips and tricks with you all along the way.
First off a little about myself for those of you who don’t know me. I am a mom to 4 boys and work part time. I have a love of scrap booking and crafting that is huge. It is my passion. I love helping others learn about it and talking about the Circut whenever I can. Just ask my hubby about that. Whenever I’m at the craft store I always end up talking to someone new about how wonderful the Circut is. Its funny now he just rolls his eyes and goes with the flow of it. If I could talk Cricut all day long and get paid I would be a very happy camper.!
The first thing I want to tell you about it is the new Expressions 2. I’m sure most of you have heard of and seen it by now with all the videos of CHA out there. I for one am very excited about this new machine. It is a combination of the Expressions that is out now and the Imagine in my opinion. In that we will be able to cut with the image cartridges from the Imagine in the new Expressions as well as use all of the ones we own already. The other big change is that you wont need a keypad overlay for it. It has a fully digital screen. You can find more information on this new machine on Face book at the Cricut official page. http://www.facebook.com/#!/OfficialCricut.There you will be able to see pictures of the new machine as well.
Here are some other sites where you can see it as well.
http://www.craftjunkietoo.com/2011/01/new-cricut-expression-2-anniversary.html
http://www.creationswithchristina.com/2011/02/cricut-2-and-cricut-craftroom.html
These sites should give you some more info about this fabulous machine. From what I have heard I believe it is set to debut on HSN in April. As I find out more about that I will keep you posted.
Cartridge Review
I would like to try to include a cartridge review for you every month if possible. This month it will be Create A Critter. I am in love with this cartridge. I love the images and the layers and the extras. You can visit my blog at lisasgreetingcards1.blogspot.com to see some of the cards I have made with the cart. Just look under labels for Create A Critter and then you will find them. If you own this cartridge and have made something with it please email me at editorofpinkscrapper@gmail.com and I will post them on my blog for so that others can see them too.
Well I think that about sums up this first newsletter. If you have ideas or things you would like to see please forward them to the same email address above and I will do my best to cover them.
Happy Scrappin’
Scrappingpinklady
Hippo Card


More Create A Critter


Supplies Needed
Create a Critter Cartridge
Embossing folder of your choice
Ink for around the edges to add dimension
Fibers or ribbons if you choose to add them
Pop dots or foam tape if you you choose to add them
A Gypsy or Design Studio as it makes it much easier to cut out
Fine tip markers and or white gel pen for doodling around card
Happy Monday my crafting friends Hope you like my newest card I have for you today. It is again from Create A Critter. I'm so LOVING this cartridge. Its my new all time FAV. Anyhow hope you enjoy. Happy Monday and Happy Scrappin'
Sunday, February 20, 2011
More Owl cards


Create A Critter


This is how it looks laid out my mat to cut.

This is how it looks laid out on my Gypsy
Supplies Needed
Create A Critter Cartridge
Embossing folder of Choice, I used Swiss dots
Ink for shading around the owl and card if desired
Fibers, Ribbon or Twine as accents on card
Stamps for sentiments
Sharpie Fine tip markers for adding doodling
White gel pen for adding doodling as well
I recommend a Gypsy or Design Studio as it makes
it easier to cut, but is not necessary
Pop dots or foam tape for dimension
Flowers and bling are optional
I made all my cuts at 3 inches for the standard size A2 card. I added lots of fibers and ribbon as accents. I also sprayed the owls with Design Master Silver glitter spray for that sparkle. The owls are up on pop dots for dimension. happy Sunday and Happy Scrappin.
Saturday, February 19, 2011
Dressed Up For School Dance

Create A Critter Baby Card


Supplies Needed
White card stock 8 1/2 by 11 cut in half to make the A2 sized card
Background paper - I used paper from Making Memories Chloe's Closet
White, black, and gray card stock for the scallop and sheep.
Pop dots to pop the sheep up on the scallop
Fibers that I tied to side of card are from my stash
White gel pen and light blue fine tipped Sharpie for stiching
Black and Brown Color Box chalk ink for edging
Thanks for stopping by. Happy Saturday and Happy Scrappin'
Scrappingpinklady
Sunday, February 13, 2011
KISS ME


Supplies Needed
Indie Art cartridge for the lips
Kiss Me stamp
( Mine is a $1 Michaels stamp)
White embossing powder
Versa Mark ink pad
Pink ink for edging
Saturday, February 12, 2011
Happy Birthday to me!


Robots and more Robots


Supplies Needed for Robots
Small Candy bars of your choice
Lots of Scrap paper for the various pieces
Glue dots to hold down the candy bars
Scotch tape to tape them closed
(otherwise they will flap around)
Stamps for fine tip markers for the face
White gel pen to do stitching around the hearts
I saved all the files on my Gypsy but the heart. I cut that at 3/4 in. on the George Cart. I used the shift and cut the heart in the upper corner on Shift lock. I would be willing to share the files with someone but I dont know how to. So if anyone could help me with that I would be forever thankful. Happy Scrappin and Happy Saturday. Thanks for stopping by and as always I would love your comments.!!!!
Thursday, February 10, 2011
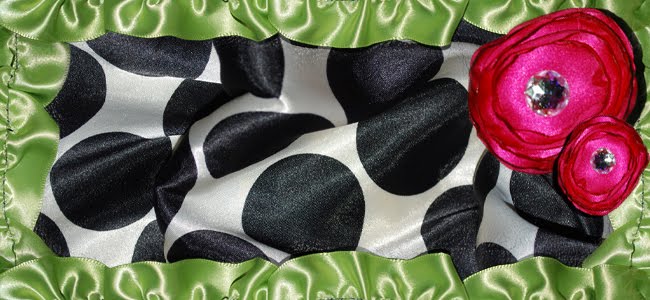
Here is my challenge card for 365 Cards today


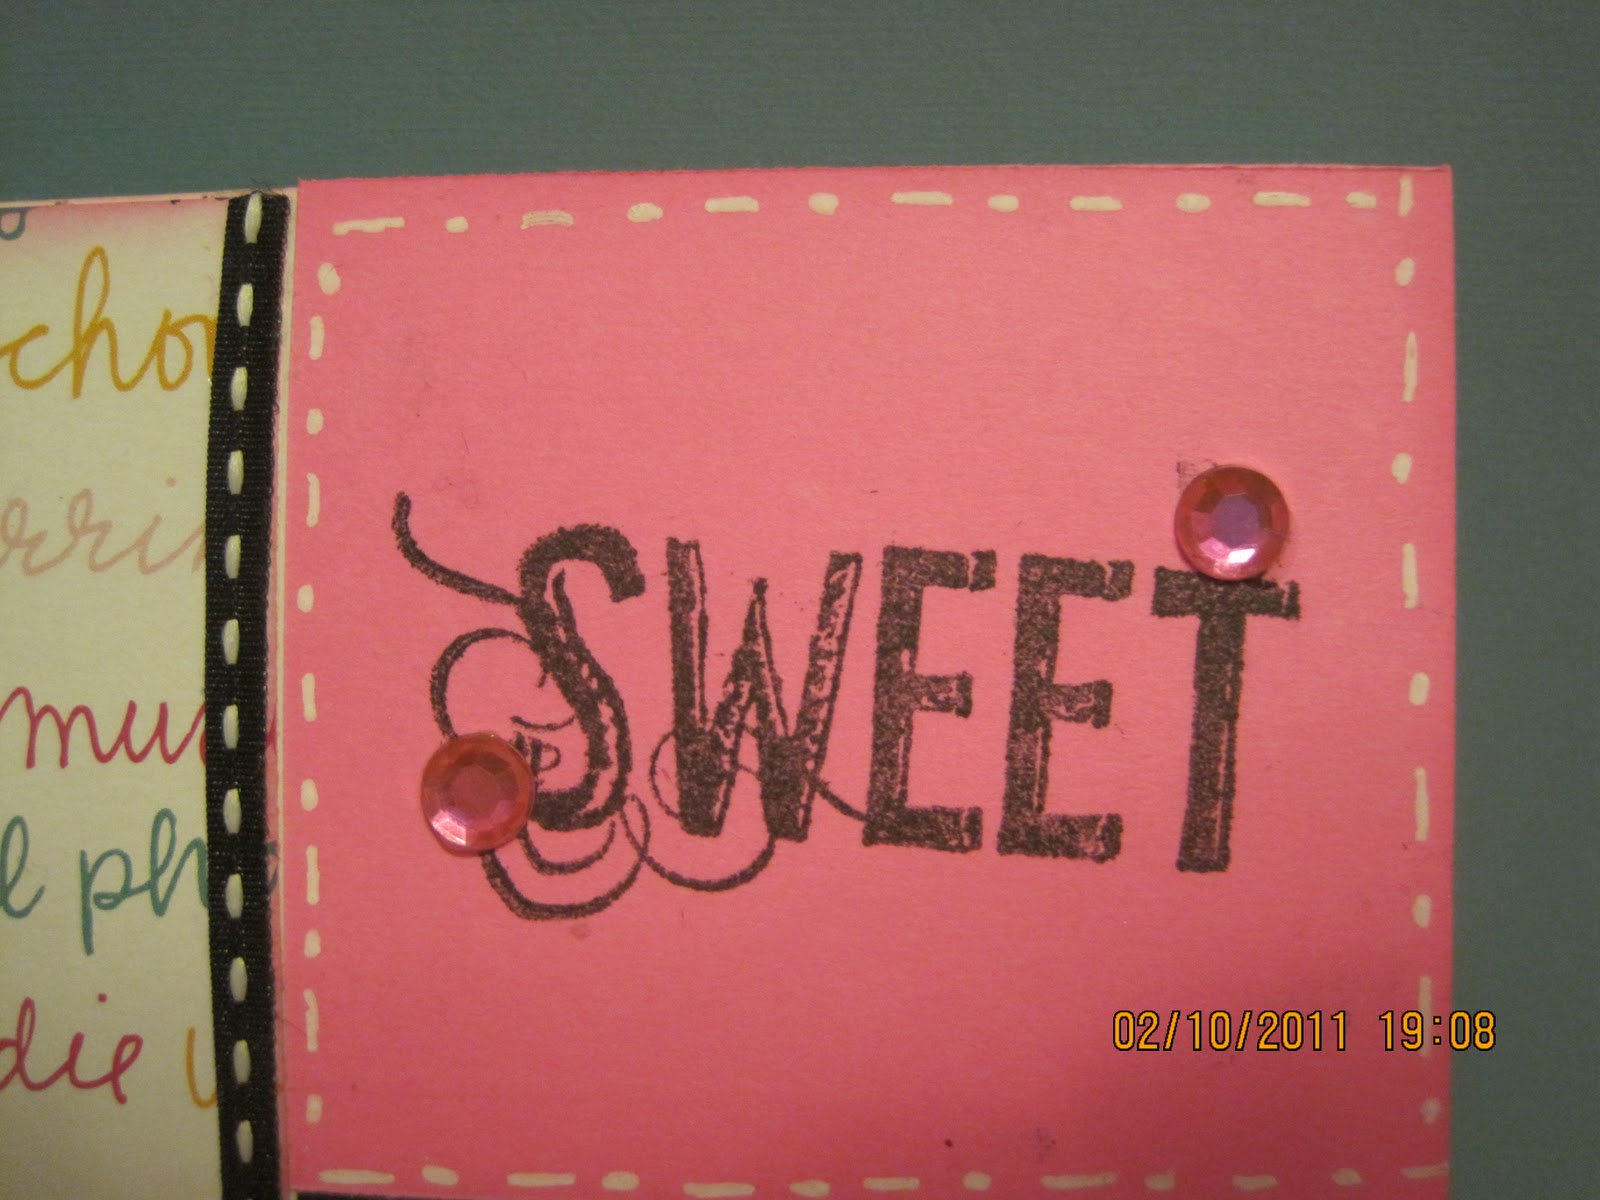
http://365cards.blogspot.com/ I had a hard time with this one but this is what I came up with. A tip for you is to cut this shoe on the smaller side. I did my first cut and 3 inches and it was almost a big as my whole card. So it seems to me that it cuts quite big. Just a heads for you when using this cut.
Supplies Used
White card stock for the base of the card
Black and pink card stock from my stash
The paper with the words on it is from American Crafts paper Teen stack
White gel pen
The sweet stamp is from Autumn leaves Everyday Sentiments
Black and white ribbon from my stash
My Gypsy and Gypsy Wanderings Cartridge for the Shoe and shadow
Pink Prima bling
Wednesday, February 9, 2011
Cootie Catcher
Remember making these in school with binder paper.? Well I have a much cuter and updated version of this for you today. This would be so cute to make for your kids for Valentines day or any day. Its fairly quick and easy to. I used my Gypsy and Expressions to cut the heart and numbers out. The hearts are on the Gypsy Wanderings Cartridge and I believe the numbers are from the Gypsy font cartridge. You could use punches or any cartridge that you have with hearts or numbers if you wanted to decorate like mine.


Supplies Needed
1 piece of Patterned Paper or Cardstock
Score Pal or other scoring too
A bone folder to use on creases
Supplies to decorate however you would like
I saw this video on youtube. The gals youtbe name is brokenroad2006 and the video is called Fortune Teller.
I did my inside a little different and wrote notes on each section. But you can do yours however you like. Happy Wednesday and Happy Scrappin
Scrappingpinklady
Tuesday, February 8, 2011
Mini Treat Holder
Today I have a mini treat holder for you. This one would work well with the Hershey's Bliss candy. The rectangle ones. I scraplifted this idea from Tracy at Craft Junkie or http://www.craftjunkietoo.com/. I will give you a picture tutorial on how to do this. I believe Tracy did a video of this. Its one of her older posts so you will have to look for it. I will try to find the link and come back here and post for you. So lets get started.


Supplies Needed
Crop-a-dial or hole punch of your choice
A piece of card stock 1 1/2 x 5 inches
(I used double sided for mine)
Ribbon of your choice to match your paper
1 small flower
1 brad
Ink if you want to ink around your edges before you put together
Score Pal or other scoring device
How to Asseble
Step 1 Cut your card stock to 1 1/2 x 5 inches long
Step 2 Score your card stock at 1 inch, 2 1/2 inches and 3 1/2 inches
Step 3 Ink around edges
Step 4 Fold and crease your score lines
Step 5 punch holes with Crop-a-dile at the 1 inch score mark, making sure not to punch to close to the edge
Step 6 Tie ribbon through one hole making sure that your knot is on the inside. Decide how much ribbon you
will need to handle to stand up. Then finish up the other side.
Step 7 Assemble your treat holder and decide where you want your flower. The flower will hold the
whole treat holder together. Use a paper piercer to make the hole. A your flower and insert brad.
Step 8 Add your candy with a mini glue dot at the bottom, so it wont fall out and viola you are all done.
I hope you have enjoyed this tutorial. I would love to see what you make so leave me a comment and tell me where I can view your finished project.
Happy Tuesday and Happy Scarappin
Scrappingpinklady
Sunday, February 6, 2011
A Few More Cards I have Made


atd paper in Tranquil pink embossed stripes
Birthday cake from Doodlin Around stack by DCWV cut down
$1 Studio G stamp for Happy Birthday
Prima bling from my stash
Pink Fibers from my stash
Tim Holtz edge distresser
For the bottom Valentines Day card I used
The same pink paper from atd
Brown card stock from my stash
Text paper from Life's Journey
Pink flower is from the Dollar Tree
The birds in the middle are from a sheet of postage stamp like pictures from Michael's last year.
Happy Sunday and Happy Scrappin
Scrappingpinklady
Subscribe to:
Posts (Atom)


