News Flash, News Flash, News Flash, News Flash

News Flash, News Flash, News Flash, News Flash

Hi my crafting friends. I'm going to be doing something new here at A Touch of Pink. I am going to be starting a Monthly Newsletter. This newsletter will contain product reviews, tips, guides and up coming events just to name a few. If you would like to sign up for this Monthly Newsletter you can email me at. eiditorofpinkscrapper@gmail.com. Please put "Monthly Newsletter" in the subject line so I know that you would like to subscribe. I hope to share lots of great information with you each month and find out what you would like to know more about. Thank you to all who visit A Touch of Pink.

Happy Scrappin
Scrappingpinklady

Sunday, November 29, 2009

Bread box all finished


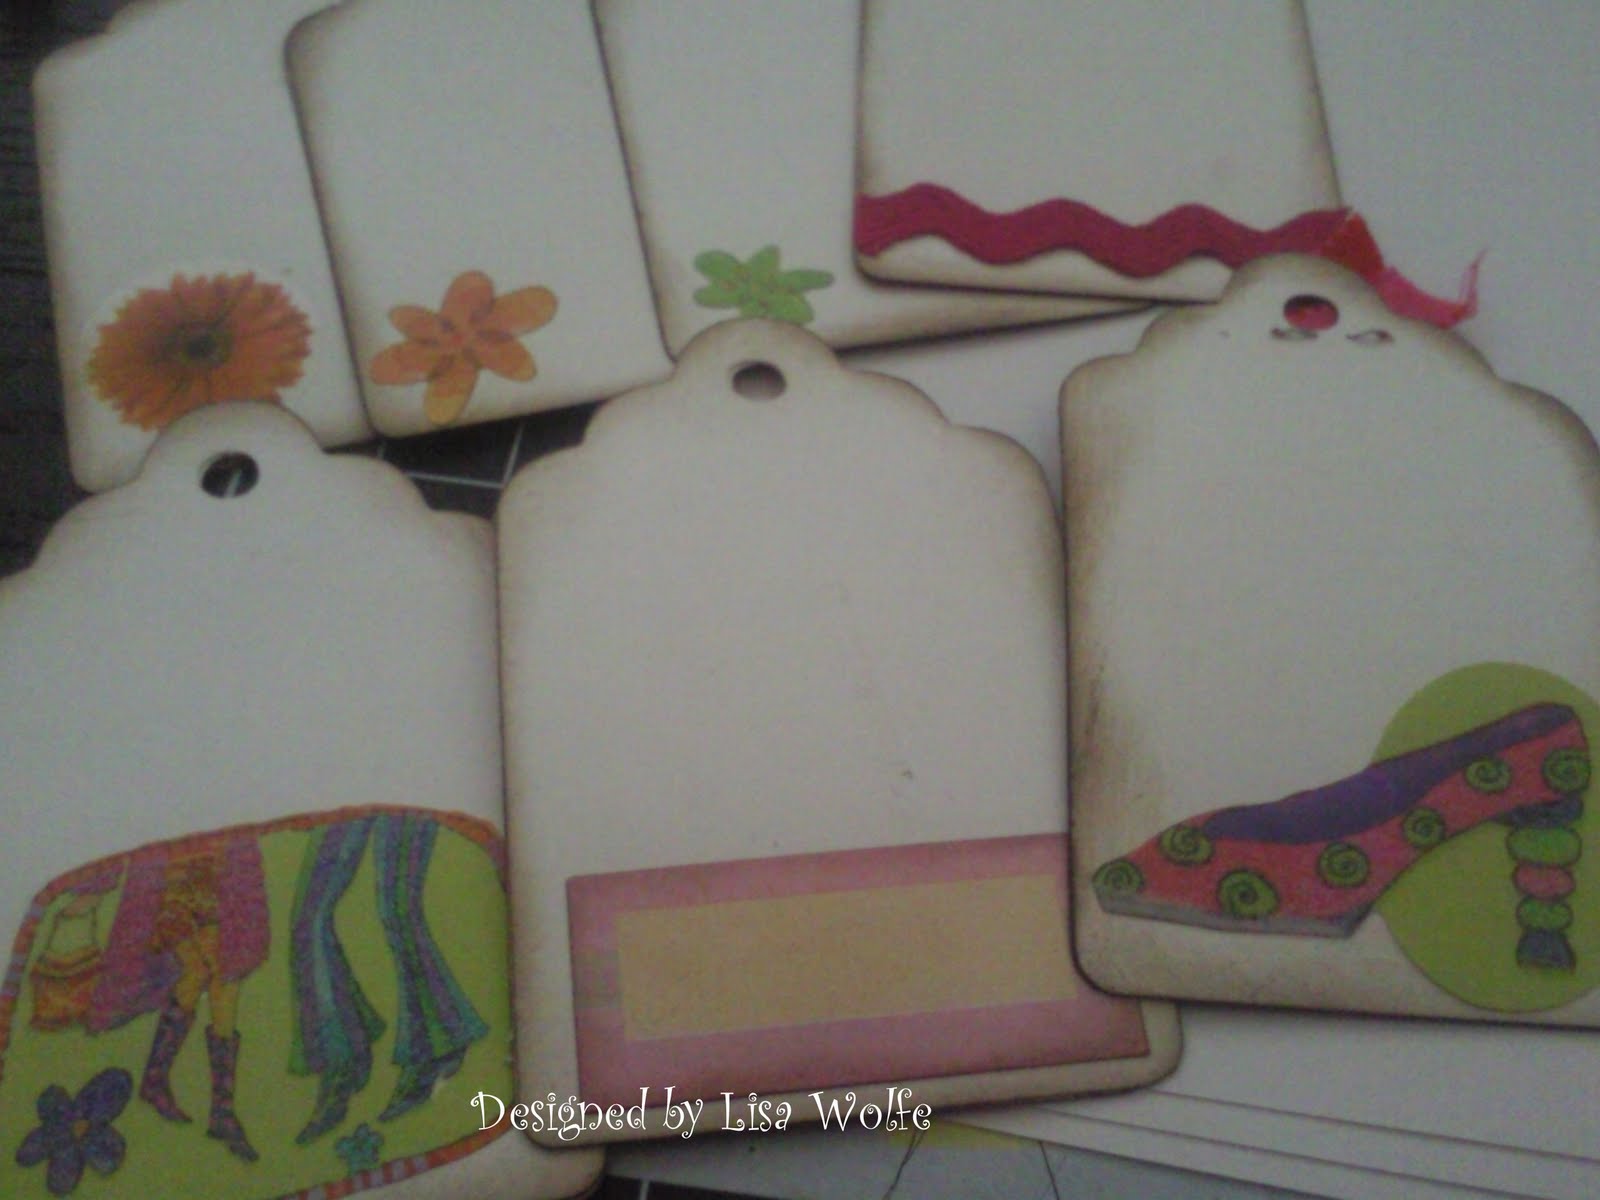
I have to say thanks to Denise Hill of Paper pastime (her blog) for this cute design. She is the creator of this addorable bread box. I just love the way this turned out. My mini loaves of bread fit just right in them and they were perfect for what I was doing.!!!!I added fruit puch stickles to the pumpkins and they sparkles quit a bit IRL I inked the edges brown and tied a small brown ribbon bow in front. I made 4 of these and the top picture shows some of the cards I made to go with them.!! Happy Sunday and thanks for looking. Thanks again Denise for your great design.!

A Notebook and card


Here is the notebook and card I made for my neighbor as a thank you. She brought us over a bunch of food and goodies and a Christams tree. That in its self was an answer to a prayer as I didnt even know if we would have been able to get to one this year. The flowers and ribbon are from http://yourmemorieshere.com/ The little flowers are from the bitty collection and the bigger flowers are Hydrangea. The pearl bling in the center of the flowers is Prima bling. The olive polk-a-dot ribbon is from Pebbles inc. The purple paper was bought at M's. The note pad inside was bought at Wally World for $1 in their school/stationary dept. It had a magnet on the back that I took off before I glued it down to the back cover. I did learn this, that once the note pad is glued down to the cover its to thick for the crop-a-dile. So my lesson learned is to punch all holes before you attach anything permanently. The card has the same ribbon and paper as the note pad. The flower on the card is from my stash and is a prima flower with a purple button in the middle. Button also from my stash. I did ink everything with the Tim Holts distressing in in Walnut brown. Happy Sunday and thanks for looking.

Thursday, November 19, 2009

Mini gum box purse album


First off this idea is not my own. I saw a video on Youtube and cant remember who is was by. So I need to give the credit to them. When I saw this idea I fell in love with it. In the top picture you can see the gum box with all the gum out before I started. I did learn some things doing this that I think would make it better next time I do one. I covered the box in sections with paper and that let some of the pink box show through. I think I would cover the whole outside with one piece of paper next time. Second I used my cropidile to punch the whole for the purse handles. I should have used the small hole punch instead of the large hole. Third I found I needed to be carefull because the gum box was a not real sturdy. Its not flimsy but you do need to be careful with it. I made the tags on My Cricut Expressions from the Plantin cart. I used the scalloped tag cut 3 1/ 4 inches. They fit in the openings just right. I cut one out of pp and one out of white cs and glued together. The white side for journaling and they other side for a picture. I inked both sides of the tag in brown distressing ink. I didnt add much for embellishements other them some stickers as it would make it hard for them to fit in the pockets. I added lace to the front and rick rac to the back. I do need to get some velcor to hold the front down. Please let me know what you think or if you have ideas on how to improve on this for next time. Happy Thursday and thanks for looking.


Blog Candy Alert

Check out this amazing blog candy that Crafter Chatter is offering over at her blog site which is
http://craftychatter.com/ She is going to have Stickles, Perfect Pearls, Embellishments and a Michaels gift card to name a few. Just think how awsome it would be to win all of those great goodies. So run over to her blog and get yourself entered to win. Good luck to All.

Fall Leaves


This layout turned out really different than I had pictured when I started. I had originaly planned to use a barn and a fence on this layout with the tree but that just did not seem right. So I finallly came up with this. Its the first time I used fabric on a layout and I really like how it turned out. I also had planned for more pics on the page then just 2 but again thats now how it turned out. I will put pictures of my boys playing in the leaves on this layout.
Supplies used
My Cricut Expressions
ZooBalloo Cart
SYI cart
Brown distressing ink
stamps
Chipboard letters
fruit punch stickles
Fabric
felt 3-d leaf
buttons and raffia
The Cricut Expressions and matts that I used for this layout can be purchased here at Your Memories Here http://www.yourmemorieshere.com/ . She has a great site with lots of great products.
Happy Thursday and I hope you like this layout.

Monday, November 9, 2009

I got a job at Michaels!!!

Im excited and nervous all at the same time about my new job. I will be starting at Michaels next Monday. It should be lots of fun!. I hope that I will get to help lots of people with their crafting needs in anyway I can. I love what Ms has done with their Criut/Expressions/Your Story isle. If you have not seen the new set up, you really should check it out. They have all the machines on display with lots of videos telling about what each one does. I really like it and think it will help in selling the machines. Anyhow it will be great to get a discount, I hope as for right now its for Christmas time help. I hope in Jan. to be offered a full time positon. Will see what happens then. Anyhow I hope to post more of my heart album and some new dt projects this week before life gets even more crazy with a job than it all ready is at the moment.!!! Happy Monday ya'll.

Tuesday, November 3, 2009

Heart shaped mini album... cover page


Here is a heart shaped mini chipboard album Im starting. I won this chipboard album in an Rak from the Cricut Messages boards. This is the fron page. The pink paper is from the DCWV Animal Crackers stack. The big white flower is from CTMH, brown one is a prima. The ribbon rose is from my stash as well as the lace and litte pink heart. The tag has a clear sticker on it with room for journaling that you can see in very top picture. It just tucks behind the flower. Next to the tag is another sticker that says hugs and kisses. The whole heart is inked in Chesnut Roann ink. The cats eye shaped one. Happy Tues. and thanks for looking.

Halloween Layout


This is my Halloween layout made with my monthly scrap kit from our local lss here where I live.
Products used:
SYI Cartridge
Cuttlebug embossing folders - Swiss Dots and D'vine Swirls
CTMH brads and black hemp twine under pumpkins.
White coragted cardboard with black ink
paper clip with black and white ribbon
letter stickers that I had in my stash
The bottom page will be on the right and the top page on the left. I also tried to show the close ups of the pumkins and the cardboard so you could see the details in them. The Cuttlebug emboss folders can be purchased here http://yourmemorieshere.com. So why not head over to Your Memories Here and check out her great store. Happy Tues and thanks for looking. Hope ya'll had a great Halloween.