News Flash, News Flash, News Flash, News Flash

News Flash, News Flash, News Flash, News Flash

Hi my crafting friends. I'm going to be doing something new here at A Touch of Pink. I am going to be starting a Monthly Newsletter. This newsletter will contain product reviews, tips, guides and up coming events just to name a few. If you would like to sign up for this Monthly Newsletter you can email me at. eiditorofpinkscrapper@gmail.com. Please put "Monthly Newsletter" in the subject line so I know that you would like to subscribe. I hope to share lots of great information with you each month and find out what you would like to know more about. Thank you to all who visit A Touch of Pink.

Happy Scrappin
Scrappingpinklady

Saturday, February 19, 2011

Dressed Up For School Dance


Here is my oldest son all dressed up for the Valentines Dance at school. It was held during school hours and just one for each grade. He came home and said he danced with a few girls. How I wish I could have been a fly on the wall to watch. ! LOL He said he was nervous at first but that it went away after a few dances. Cant believe hes going to be 13 in less than a month. Where has the time gone.

Create A Critter Baby Card


Here is my 1st card with Create A Critter. I made this adorable sheep card for my niece who just had her f1st baby. This was such a fun card to make and I will be making lots more with this cart.

Supplies Needed

White card stock 8  1/2 by 11 cut in half to make the A2 sized card
Background paper - I used paper from Making Memories Chloe's  Closet
White, black, and gray card stock for the scallop and sheep.

Pop dots to pop the sheep up on the scallop

Fibers that I tied to side of card are from my stash

White gel pen and light blue fine tipped Sharpie for stiching


Black and Brown Color Box chalk ink for edging

Thanks for stopping by. Happy Saturday and Happy Scrappin'
Scrappingpinklady


Sunday, February 13, 2011

KISS ME


Happy almost Valentines Day to you. Here is another card I made. I  hope you like the big red shiny lips.!!! I hope everyone is ready for Valentines Day tomorrow. I finished 2 of my boys' Robot candy bar Valentines last night. What a job that was. See post below for more information on that.


Supplies Needed

Indie Art cartridge for the lips
Kiss Me stamp
( Mine is a $1 Michaels stamp)

White embossing powder

Versa Mark ink pad

Pink ink for edging

 Happy Sunday and I will be back with a few more cards latter today. Thanks for stopping by and as always I love comments and subscribers.!!!

Saturday, February 12, 2011

Happy Birthday to me!


Hi my friends. I just wanted to share some birthday pictures with you all. Today was my birthday and I  had such a nice day. My mom took me to breakfast and then we came back to my house for the day. Hubby made me the best ever chocolate chip cheesecake with the PINK topping from scratch. It was to die for good.!! I love the way it turned out with the pink topping on it.  :) My mom got me this adorable apron that is different on both sides. This side has yummy cupcakes all over it. My stamps that I ordered came today plus I got some birthday money so all in all I  had a GREAT day. Thanks scrubby, my boys and mom for making my day so special. Also thank  you to all those that called or wished me happy birthday on FB. It helped make my day wonderful.!!!!!

Robots and more Robots


Hi my crafting friends. Can you believe I made 52 of these for my 1st and 3rd graders for Valentines day at school. I scraplifted this totally cute idea out of one of my scrapbook magazines. The candy bars were perfect for Valentines day with the colors and hearts on them. No need to cover them with paper. This a big project and I couldnt have done it without  my Gypsy. I would not recommend doing this without a Gypsy or SCAL or some type of program like that. I was able to measure the candy bar and just type the measurements in that I need and I saved them so I could easily cut more when needed. I was also able to have a layer for each cut. You could even involve your kids and have them help you fold the arms and legs and put the base layers together if you wanted. I bet they would have a great time helping out.

Supplies Needed for Robots

Small Candy bars of your choice
Lots of Scrap paper for the various pieces

Glue dots to hold down the candy bars

Scotch tape to tape them closed

(otherwise they will flap around)

Stamps for fine tip markers for the face

White gel pen to do stitching around the hearts


I saved all the files on my Gypsy but the heart. I cut that at 3/4 in. on the George Cart. I used the shift and cut the heart in the upper corner on Shift lock. I would be willing to share the files with someone but I dont  know how to. So if anyone could help me with that  I would be forever thankful.  Happy Scrappin and Happy Saturday. Thanks for stopping by and as always I would love your comments.!!!!

Thursday, February 10, 2011

Here is my challenge card for 365 Cards today


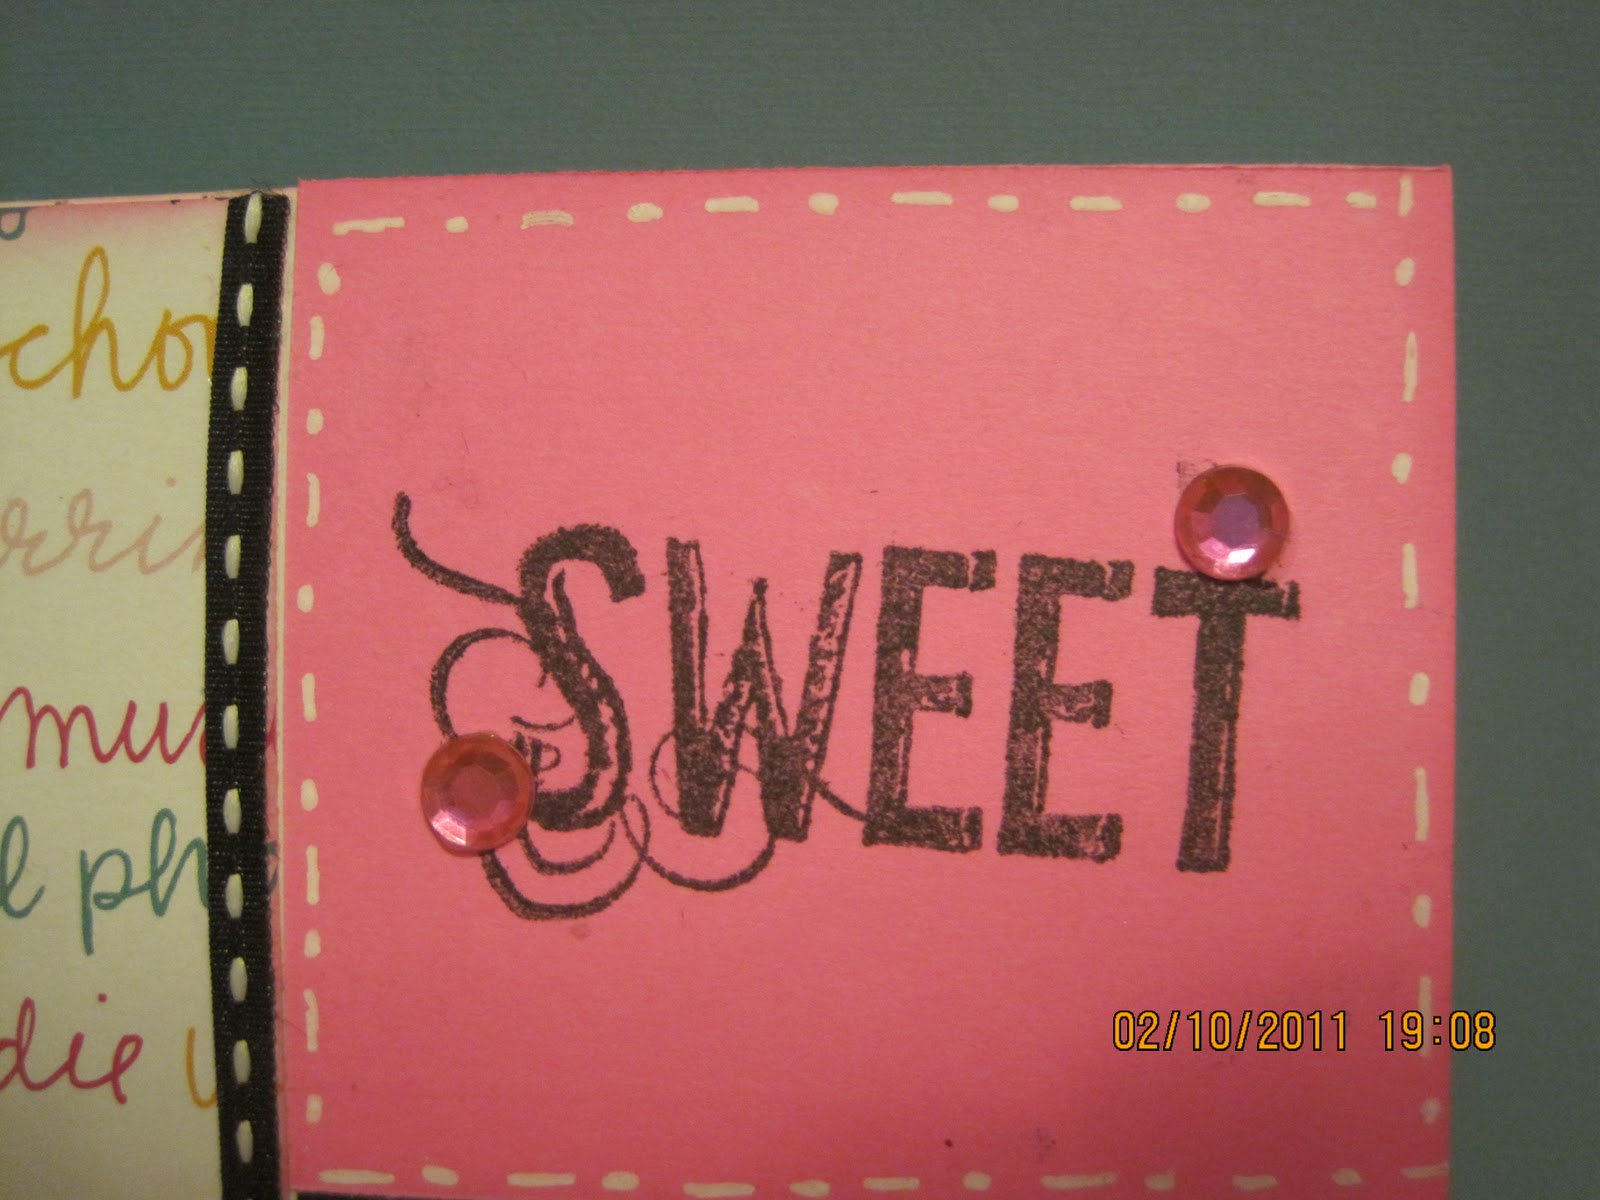
 Hi my crafting friends. Here is a card I  made for today's challenge over at 365 cards.
http://365cards.blogspot.com/ I had a hard time with this one but this is what I came up with. A tip for you is to cut this shoe on the smaller side. I did my first cut and 3 inches and it was almost a big as my whole card. So it seems to me that it cuts quite big. Just a heads for you when using this cut.

Supplies Used

White card stock for the base of the card

Black and pink card stock from my stash

 The paper with the words on it is from American Crafts paper Teen stack

White gel pen

The sweet stamp is from Autumn leaves Everyday Sentiments

Black and white ribbon from my stash

My Gypsy and Gypsy Wanderings Cartridge for the Shoe and shadow

Pink Prima bling


Wednesday, February 9, 2011

Cootie Catcher

Remember making these in school with binder paper.? Well I have a much cuter and updated version of this for you today. This would be so cute to make for your kids for Valentines day or any day. Its fairly quick and easy to. I used my Gypsy and Expressions to cut the heart and numbers out. The hearts are on the Gypsy Wanderings Cartridge and I believe the numbers are from the Gypsy font cartridge. You could use punches or any cartridge that you have with hearts or numbers if you wanted to decorate like mine.


Supplies Needed

1 piece of Patterned Paper or Cardstock
Score Pal or other scoring too

A bone folder to use on creases

Supplies to decorate however you would like

I saw this video on youtube. The gals youtbe name is brokenroad2006 and the video is called Fortune Teller.
I did my inside a little different and wrote notes on each section. But you can do yours however you like. Happy Wednesday and Happy Scrappin

Scrappingpinklady